How to Create a Dessert Table
Linnea A.

Over the past few weeks, I’ve been secretly planning my mama’s surprise 60th, which went off without a hitch, and she was absolutely floored! She loved it all, and had absolutely no idea. But the showstopper of the entire event definitely had to be the dessert table, which was my goal. HUGE thanks to my aunt for helping me set it up, and contributing so many delicious sweets along with my Grandma! Wondering how I created this bad boy?! Keep on reading, and I’ll share all my tips & deets!

1. Pick a colour scheme. What’s the celebrant’s favourite colour? Do they have any favourite flowers or greens? This will help determine the colours you’ll be using throughout your entire event. Pick this first, then you can figure out the balloons and other decor to correspond and compliment the floral/dessert colour way later.

2. Gather your inspo. After you’ve skimmed through Pinterest and Instagram, what’s the reoccurring theme in your inspo photos? Are there similar treats or flowers in every photo? Put all your photos into a collage, so you’ve created yourself a moodboard that you can easily share with the baker, florist, and all the decorators lending a helping hand! It’s key to ensure everyone’s on the same page with your vision.

3. Shop your home. As someone who loves decor and entertaining (and the daughter of someone who loves it just as much), I had LOTS of inventory to work with, so I had to be resourceful. We have cake stands and platters up the ying yang, so it was just a matter of me gathering my favourites together (without her noticing anything was missing from her house), shopping my own home for all my marble slabs, cutting boards, lanterns and vases, and putting them all together. I also used jewelry boxes and dishes for the table, and I had some wooden stumps lying around (originally sourced for an event that never happened *cough* LOL), so I kindly asked my Dad if he could cut them into wood rounds for the dessert table. And he KILLED IT. I scattered the wooden rounds throughout the room, and they elevated the look of the whole event!

4. Choose a focal point. What’s gonna make your table stand out? Will you have a balloon garland along the top, a hanging sign in the middle, or a full backdrop? I decided to create a full DIY floral backdrop. This took a lot of thought as to how I would hang everything because I couldn’t put any holes in the wall, but it all worked out perfectly. I’ll definitely break down how I made my floral backdrop in another post!


5. Sketch out your table. This way, you’ll figure out what you’re missing, and what you still need to do. I had a running list week after week of what I needed to accomplish before the big day. The sketch also helped tremendously when I was setting everything up. It’s easy to forget the vision in your head when you’re overwhelmed with to do’s, but if you draw it out beforehand, you’ll be able to show the others helping you what you’re going for, and it makes your life a whole lot easier!


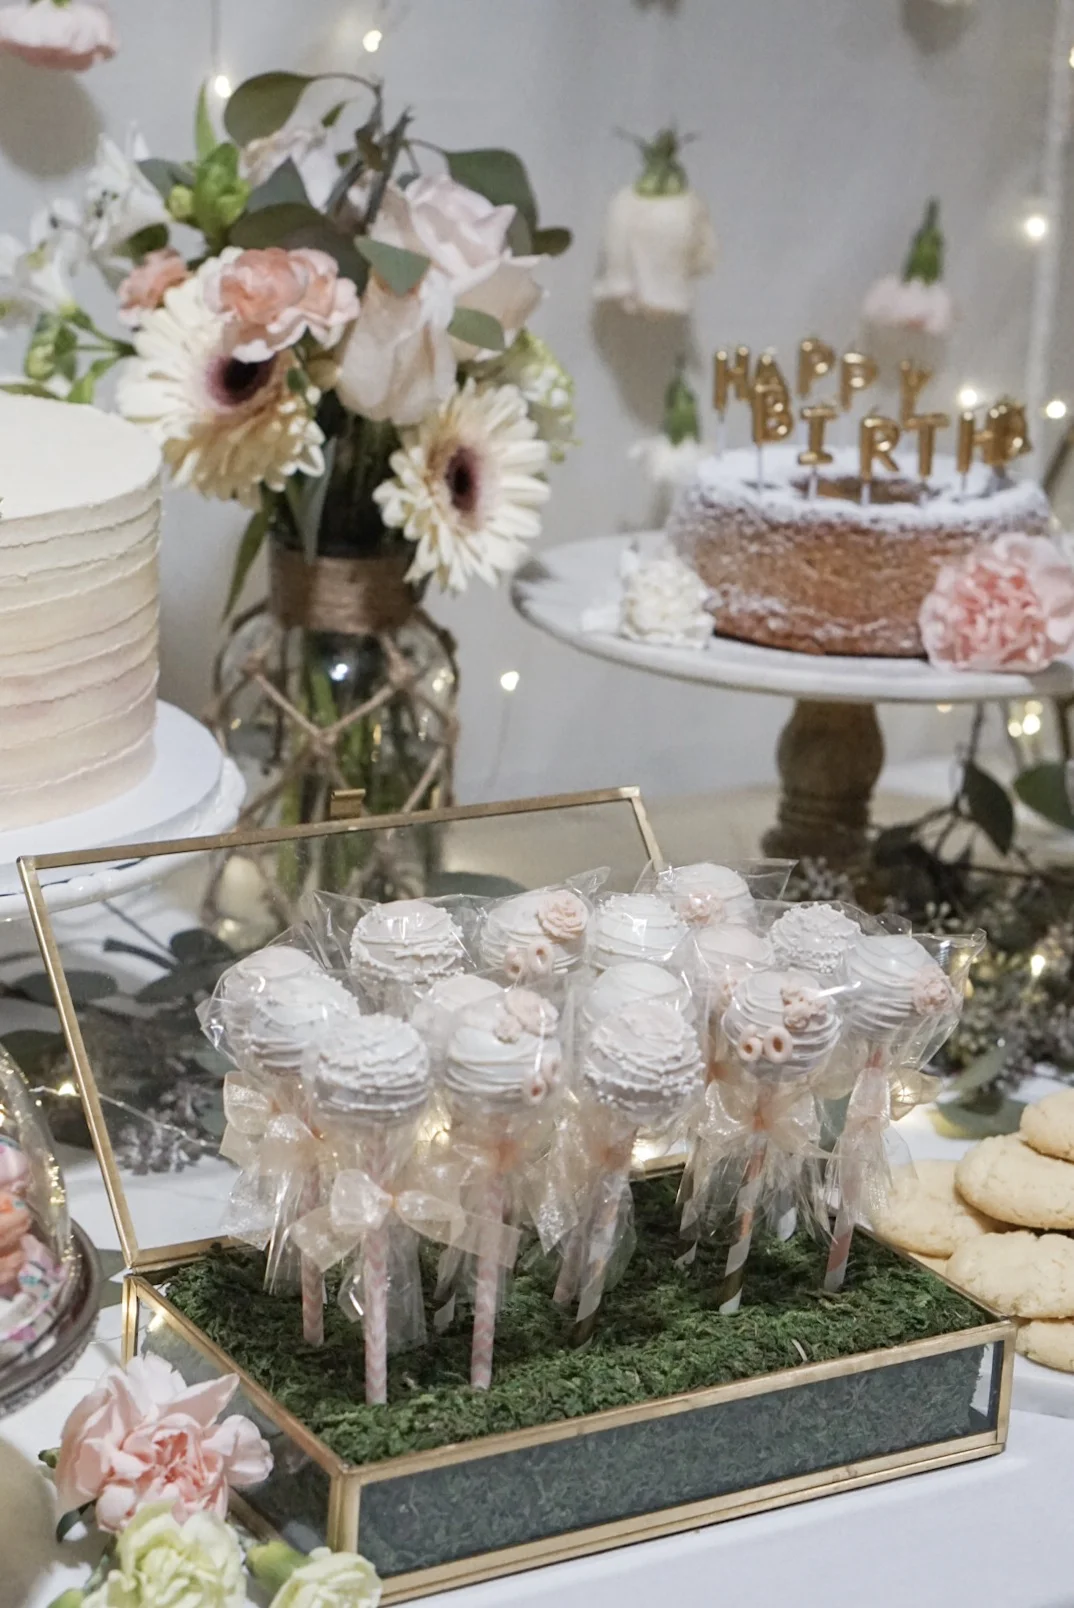
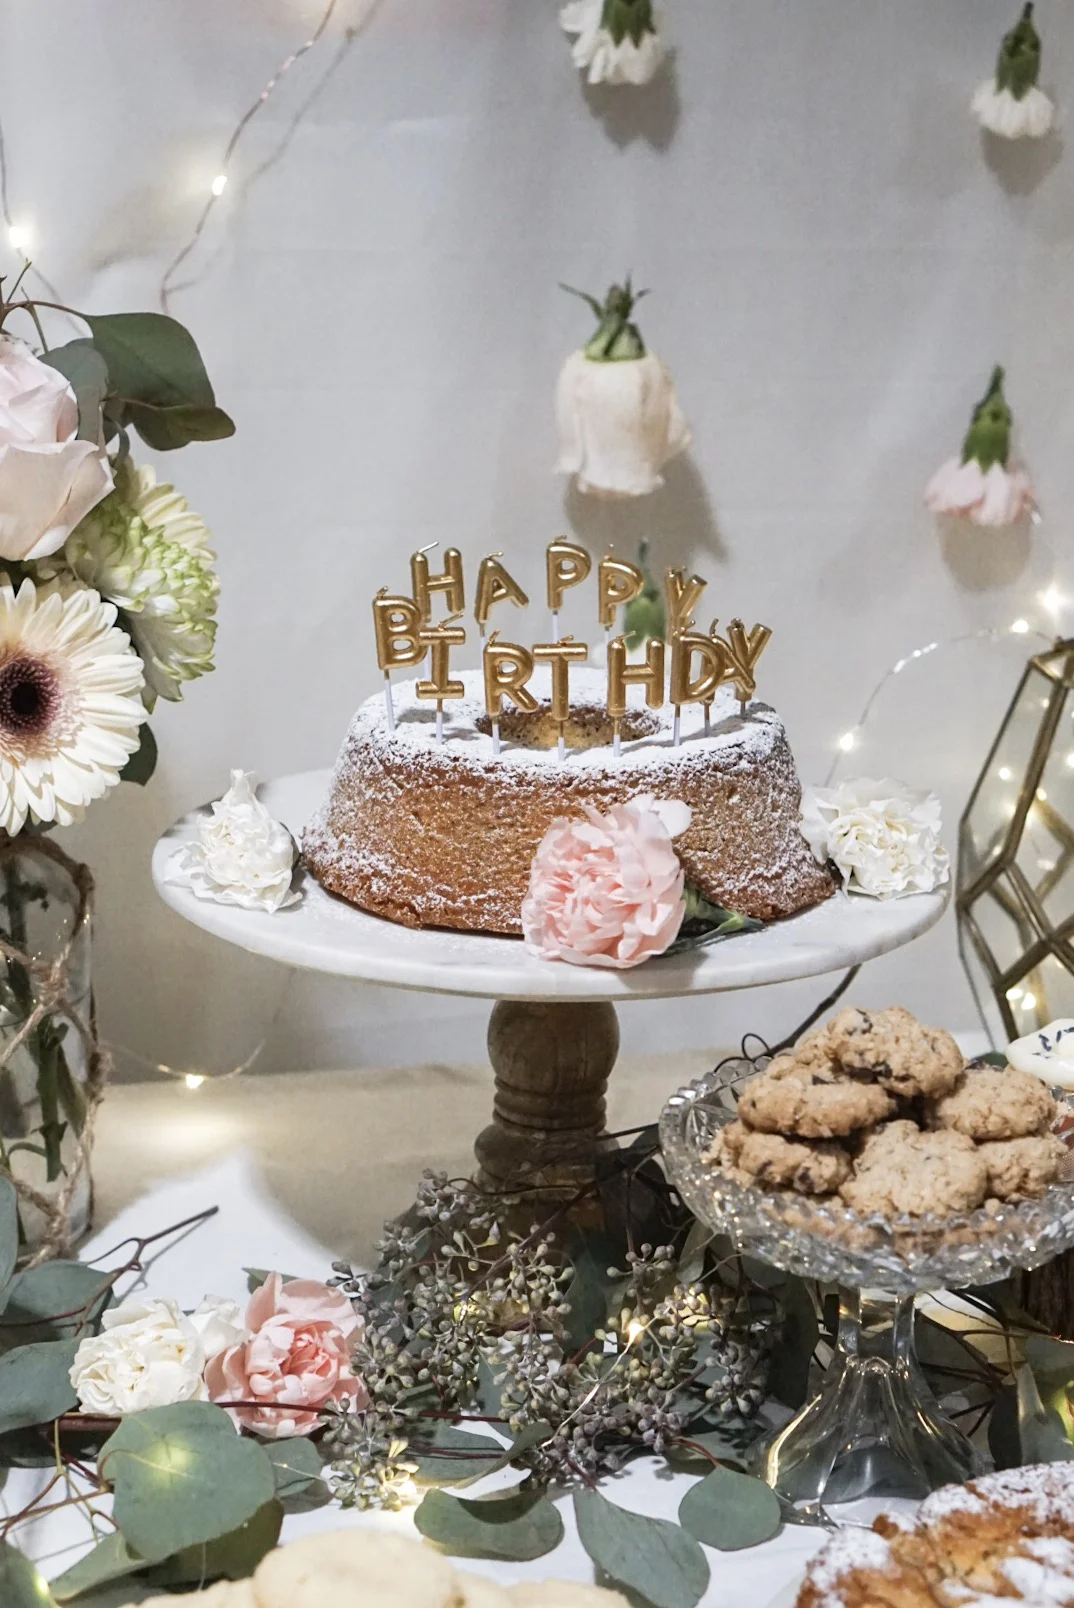
6. Pick your desserts. Based on your inspo photos and your sketches, you’ll get a good idea of how much dessert you need to fill the table, and what to ask for if people offer to bring/bake something. I knew a big cake was a must, but what about everything else? My Grandma is an incredible baker, so she made 3 types of cookies, and 2 different cakes. I also made Lavender cupcakes, we had hand-painted macarons, intricately designed cake pops, and bite-sized Food for the Gods. Let’s just say we had NO SHORTAGE of dessert.

7. Eucalypus and twinkle lights. Period. My best tip for any party is to buy a whole bunch of silver dollar and seeded eucalyptus, and scatter it throughout the room. I put it all along the food table, mantle, dessert table, and made all the floral arrangements with tons of eucalyptus. In addition, I gathered all the twinkle lights I own, and scattered them all throughout the dessert table, inside of glass lanterns, and wove them along the cake stands. It adds such a magical touch!


8. Make your own floral arrangements. Nobody knows your colour scheme like you do, or your vision, for that matter. Floral arrangements are actually a lot easier than you think, so my advice is to buy a whole bunch of greens and flowers in your colour scheme, then break them apart and make your own arrangements to suit the vases you have on hand. Not only is this cheaper, but it looks so much better, and you’ll also feel better, knowing you made them all!
Hopefully this helps you out the next time you have to plan a party and want to create a show-stopping dessert table! If you have any questions about where I got certain things, or want more tips, feel free to email me, DM me on IG, or leave a comment below! Always happy to share. <3
xo
Linnea