Kitchen Inspo
Linnea A.

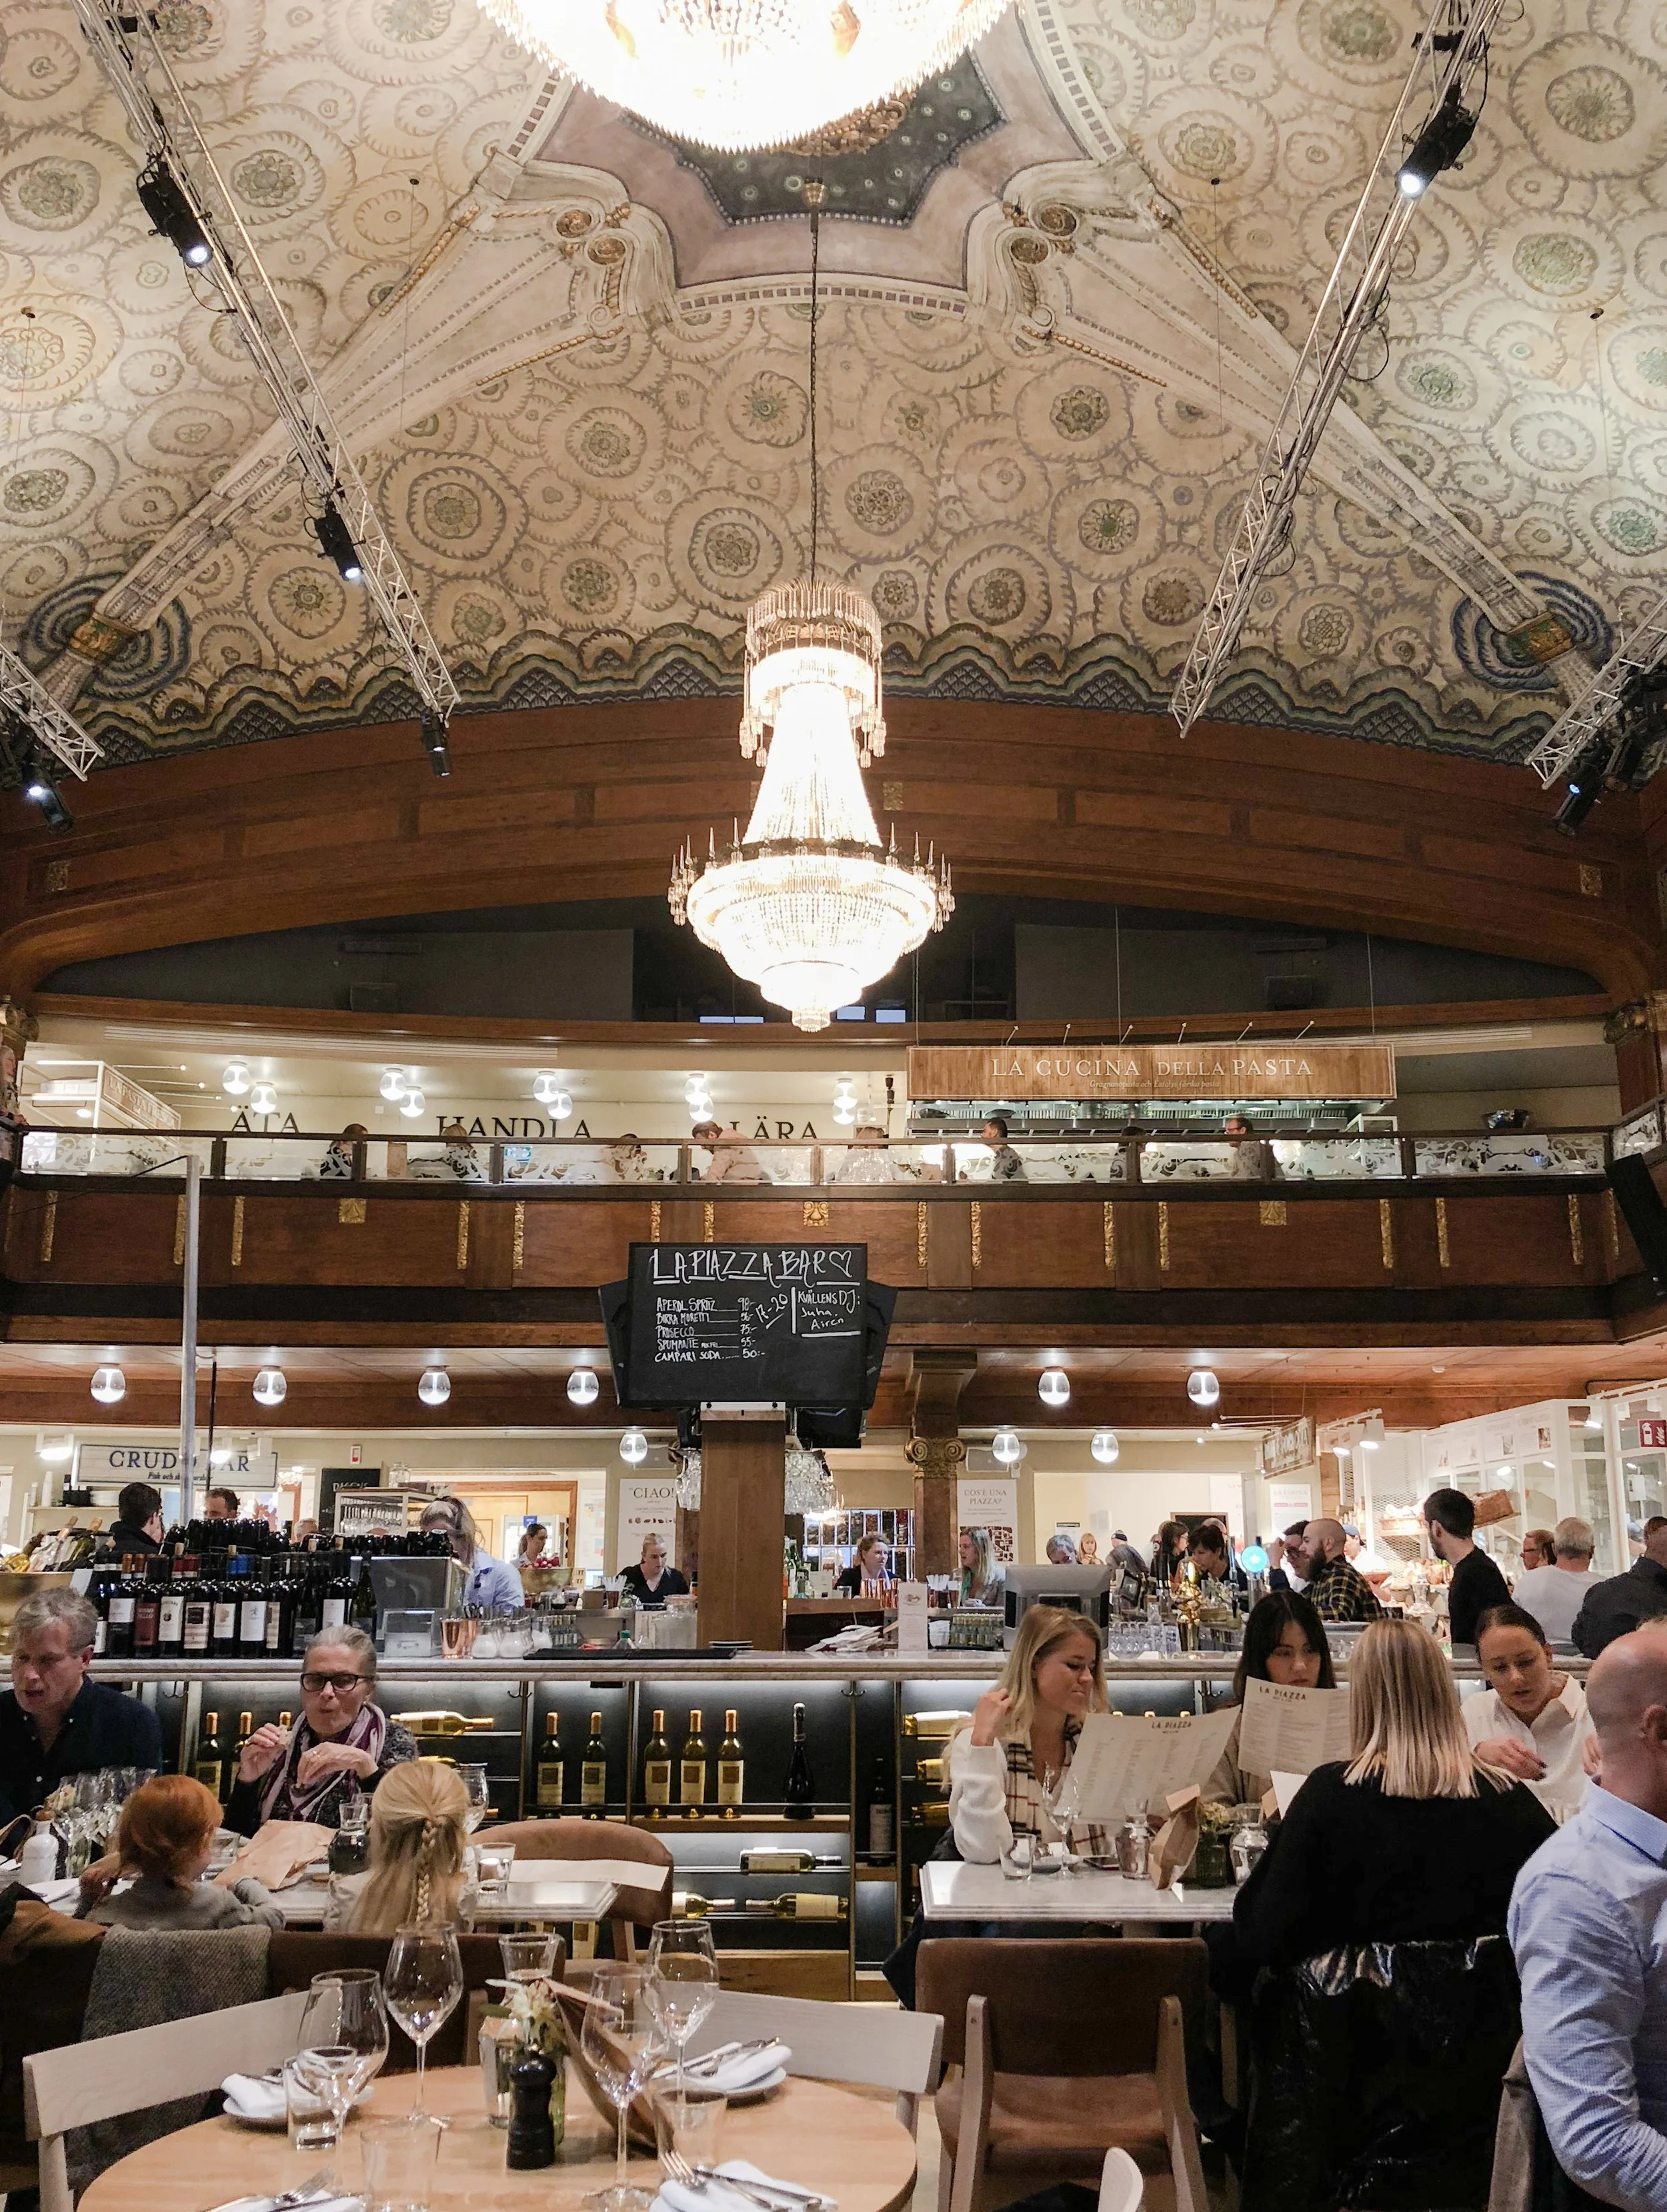
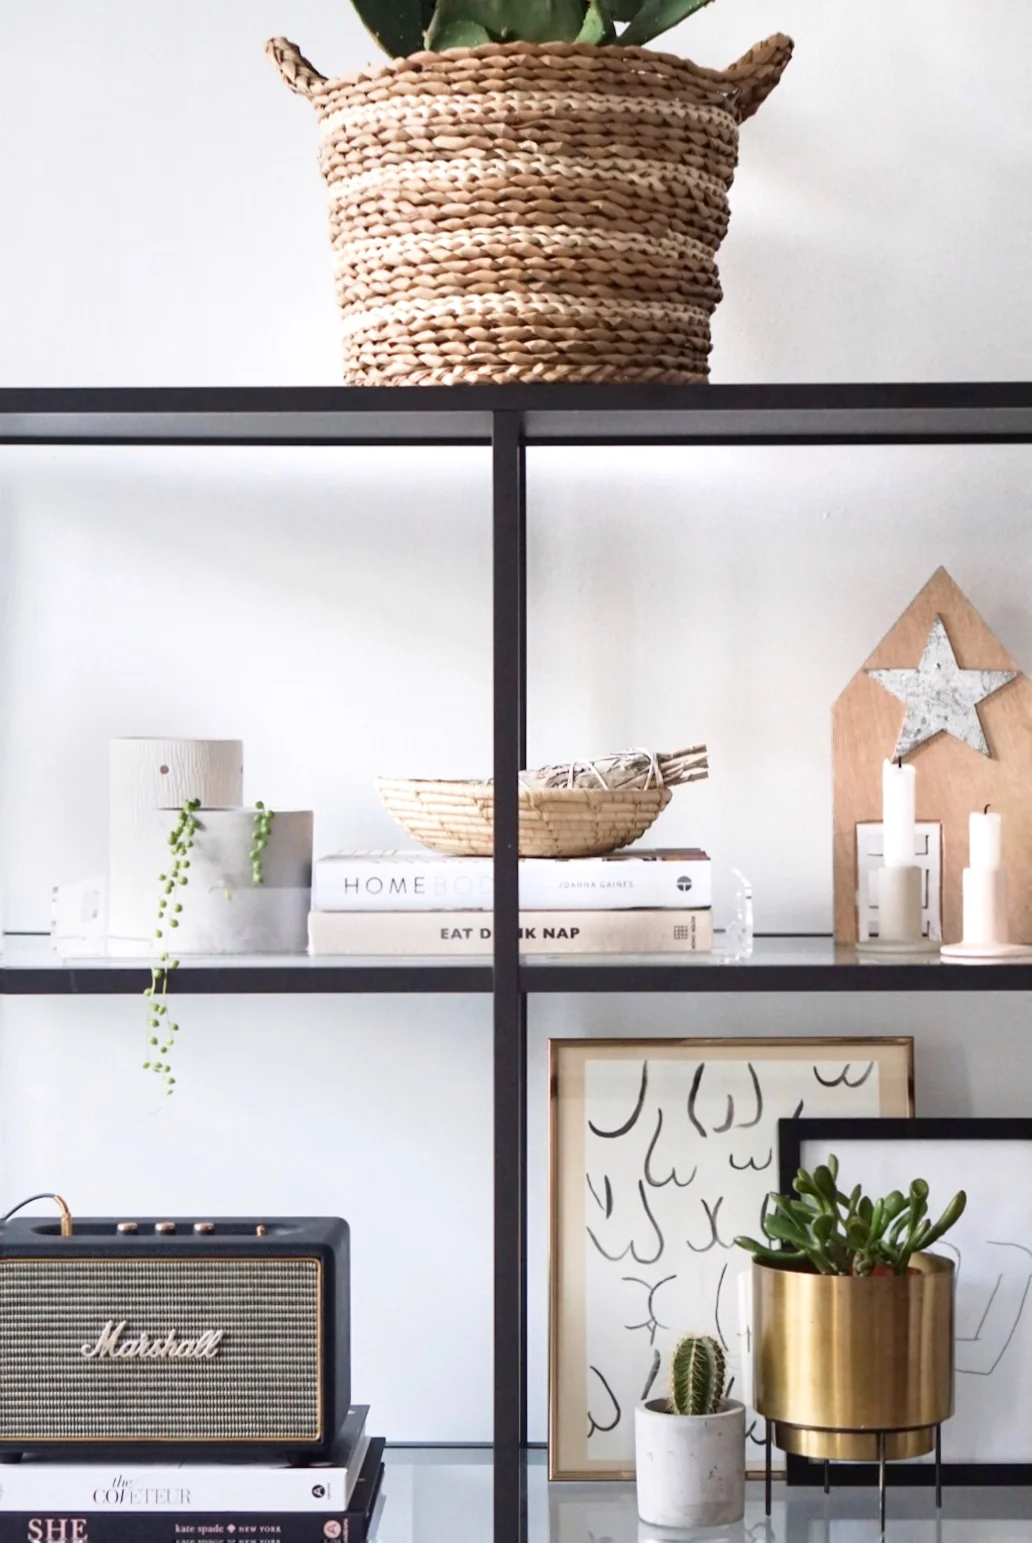
Now that Spring is right around the corner (it’s almost March, holy mokes!), I’d love to start crossing things off my home improvement list. First up: my kitchen. There aren’t any major kitchen renovations I’ll be doing just yet (hello, this student’s on a budget!), but there are a few updates I’ll be making to revamp the space. And it really goes to show that a few simple updates can make all the difference. For my kitchen revamp, I’m thinking matte blacks, whites, wood tones, open shelving and a touch of gold and greenery. Fail proof recipe if you ask me! Get ready to swoon.
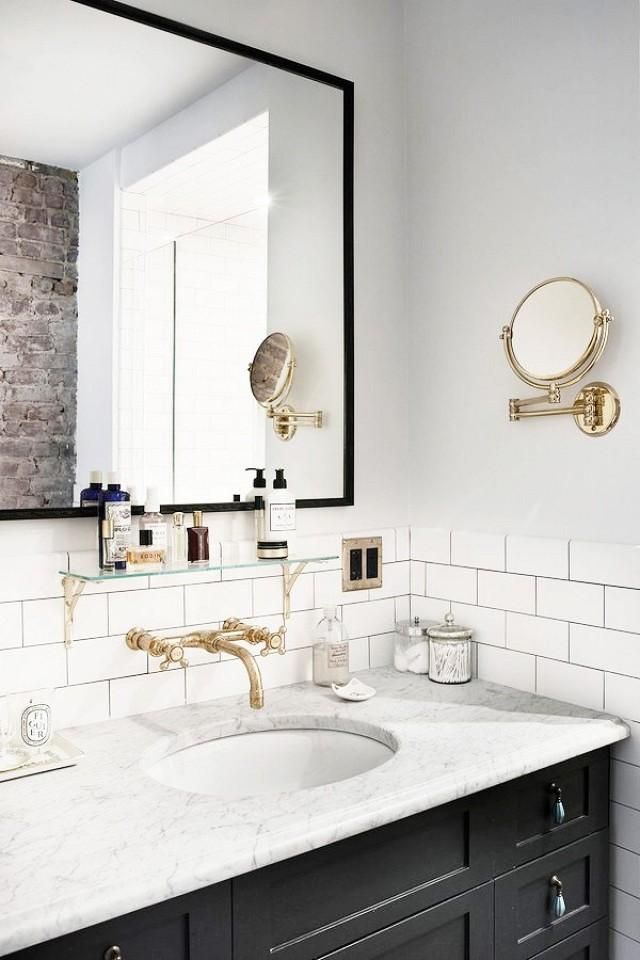
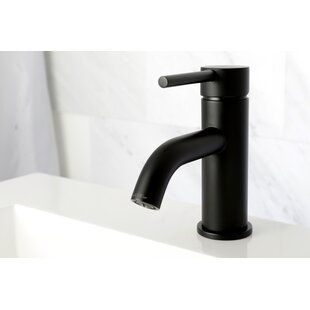
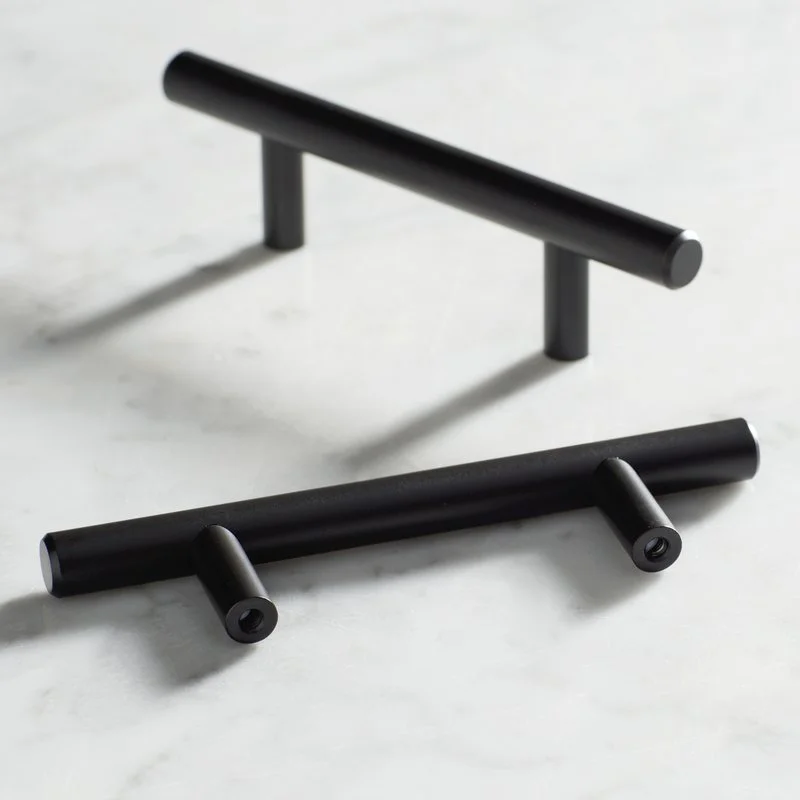
Matte black fixtures


Black cabinets


All white everything


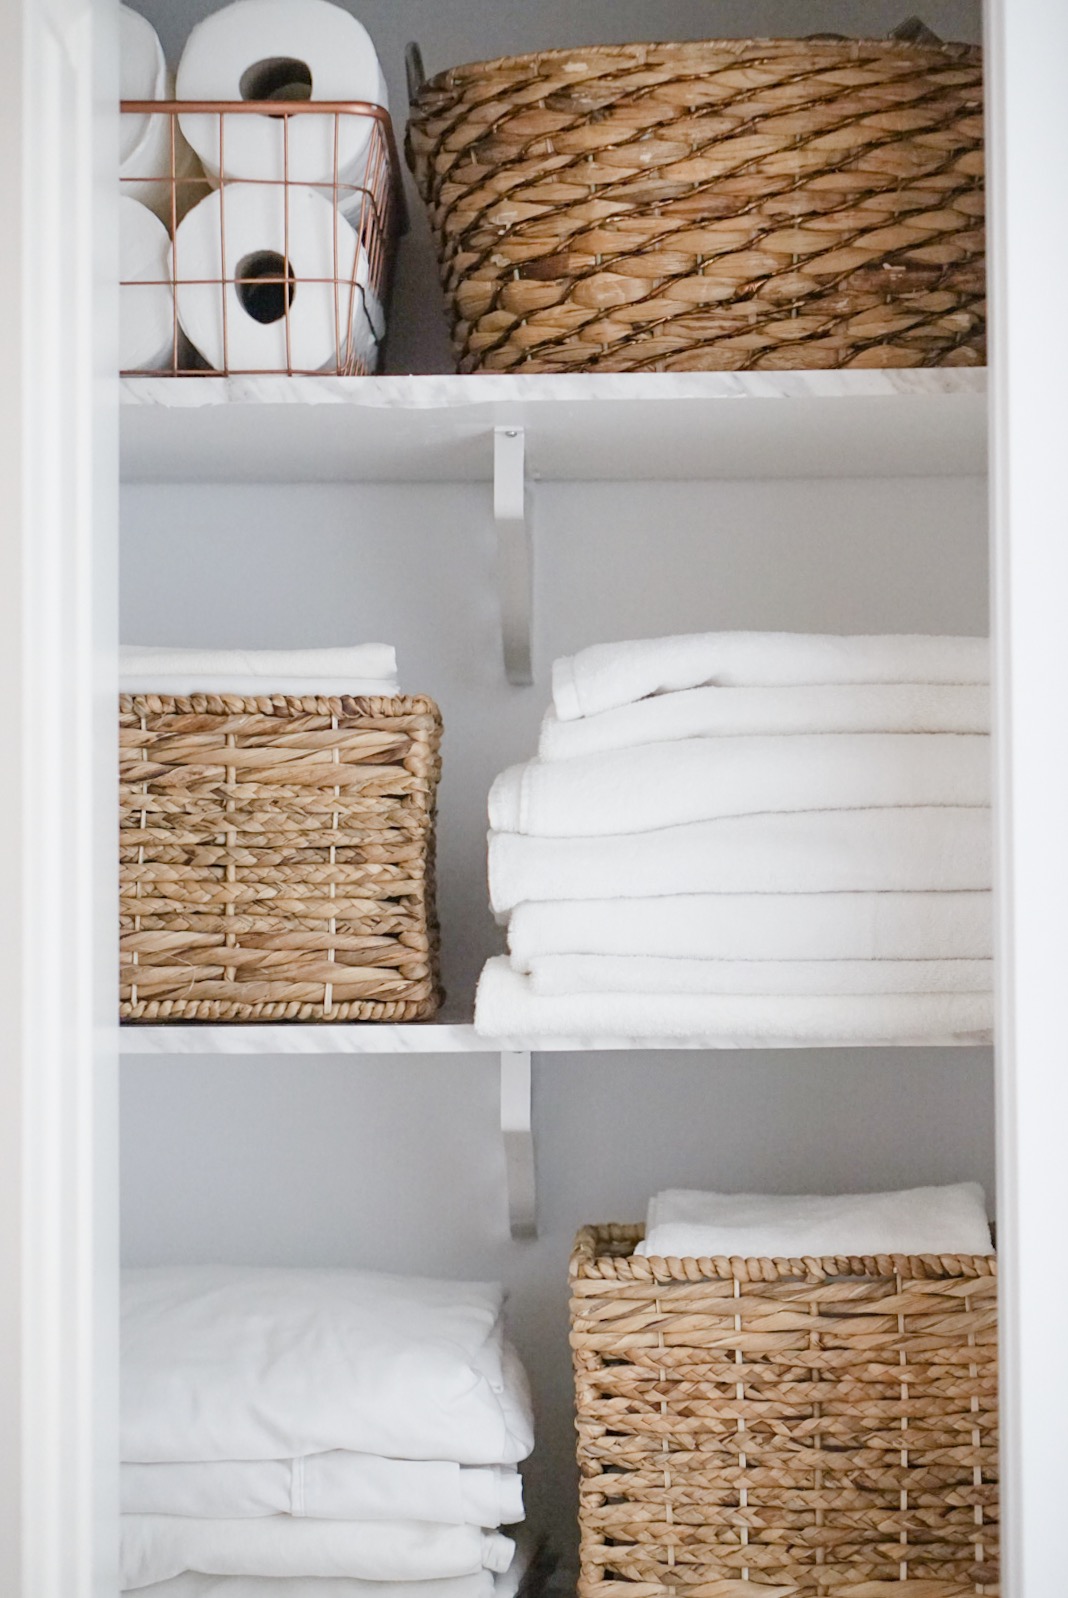
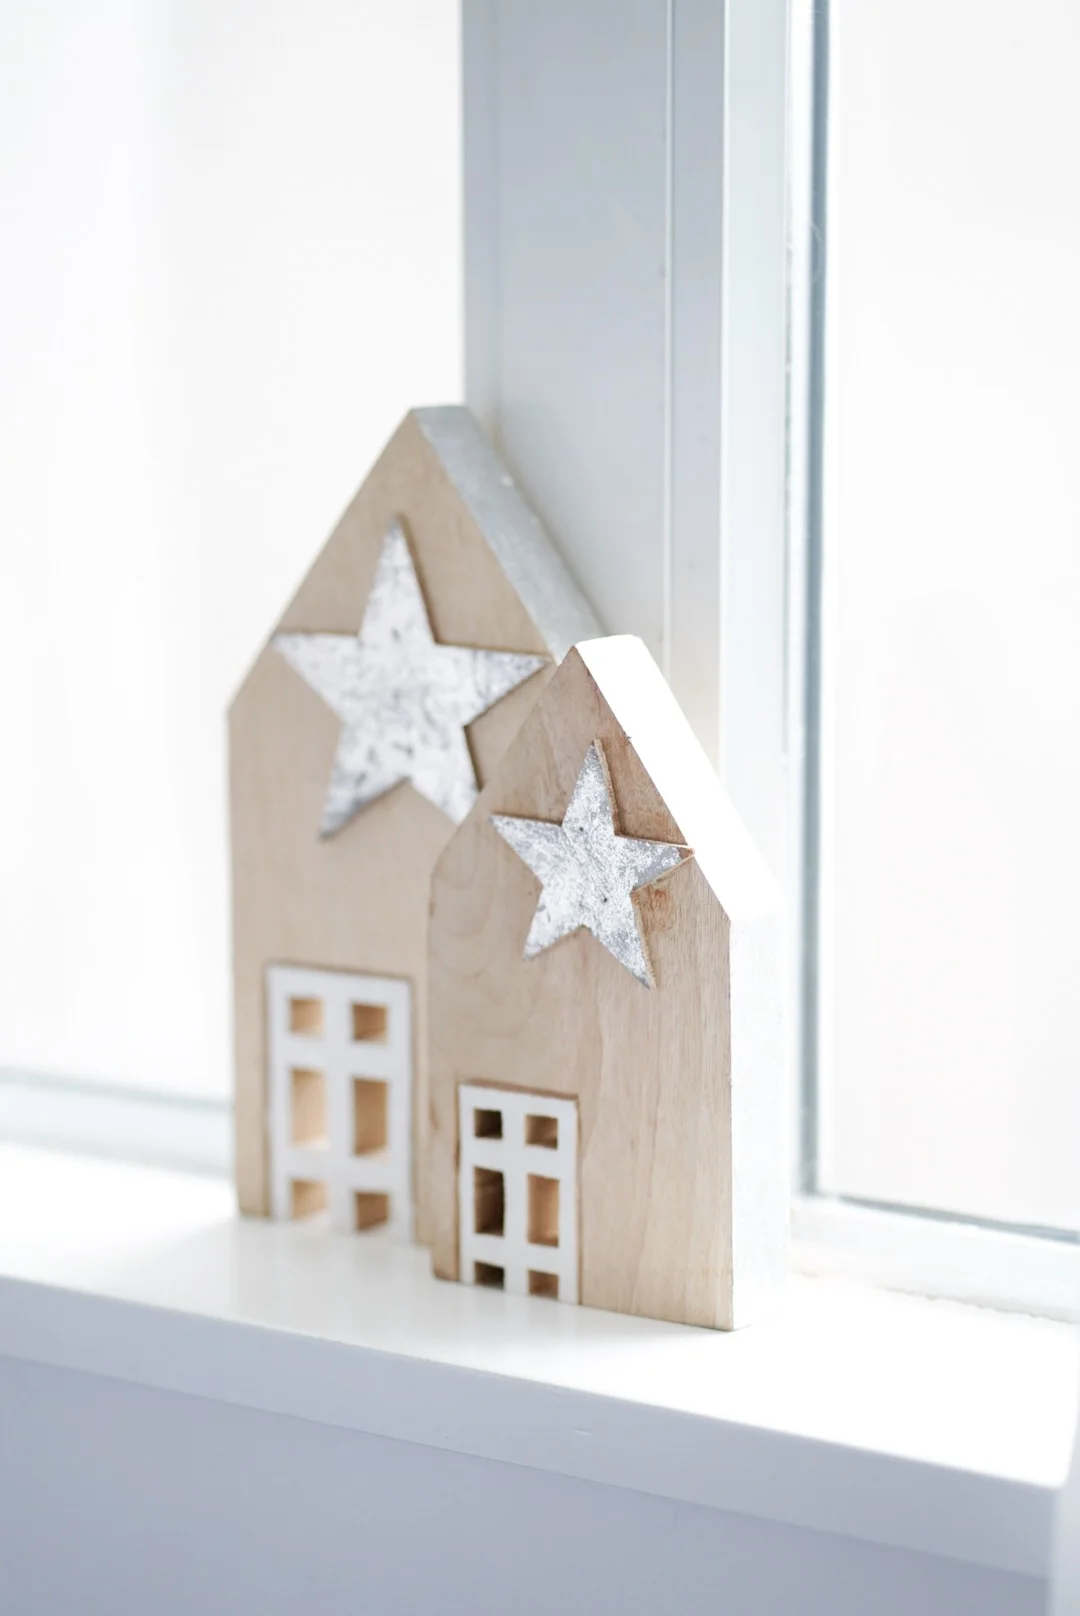
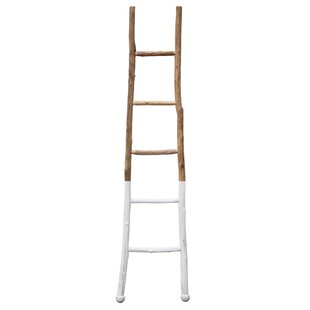
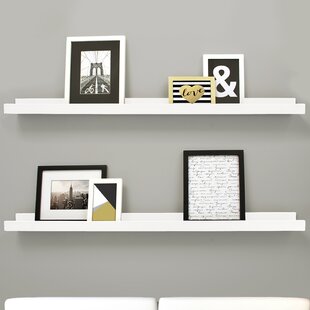
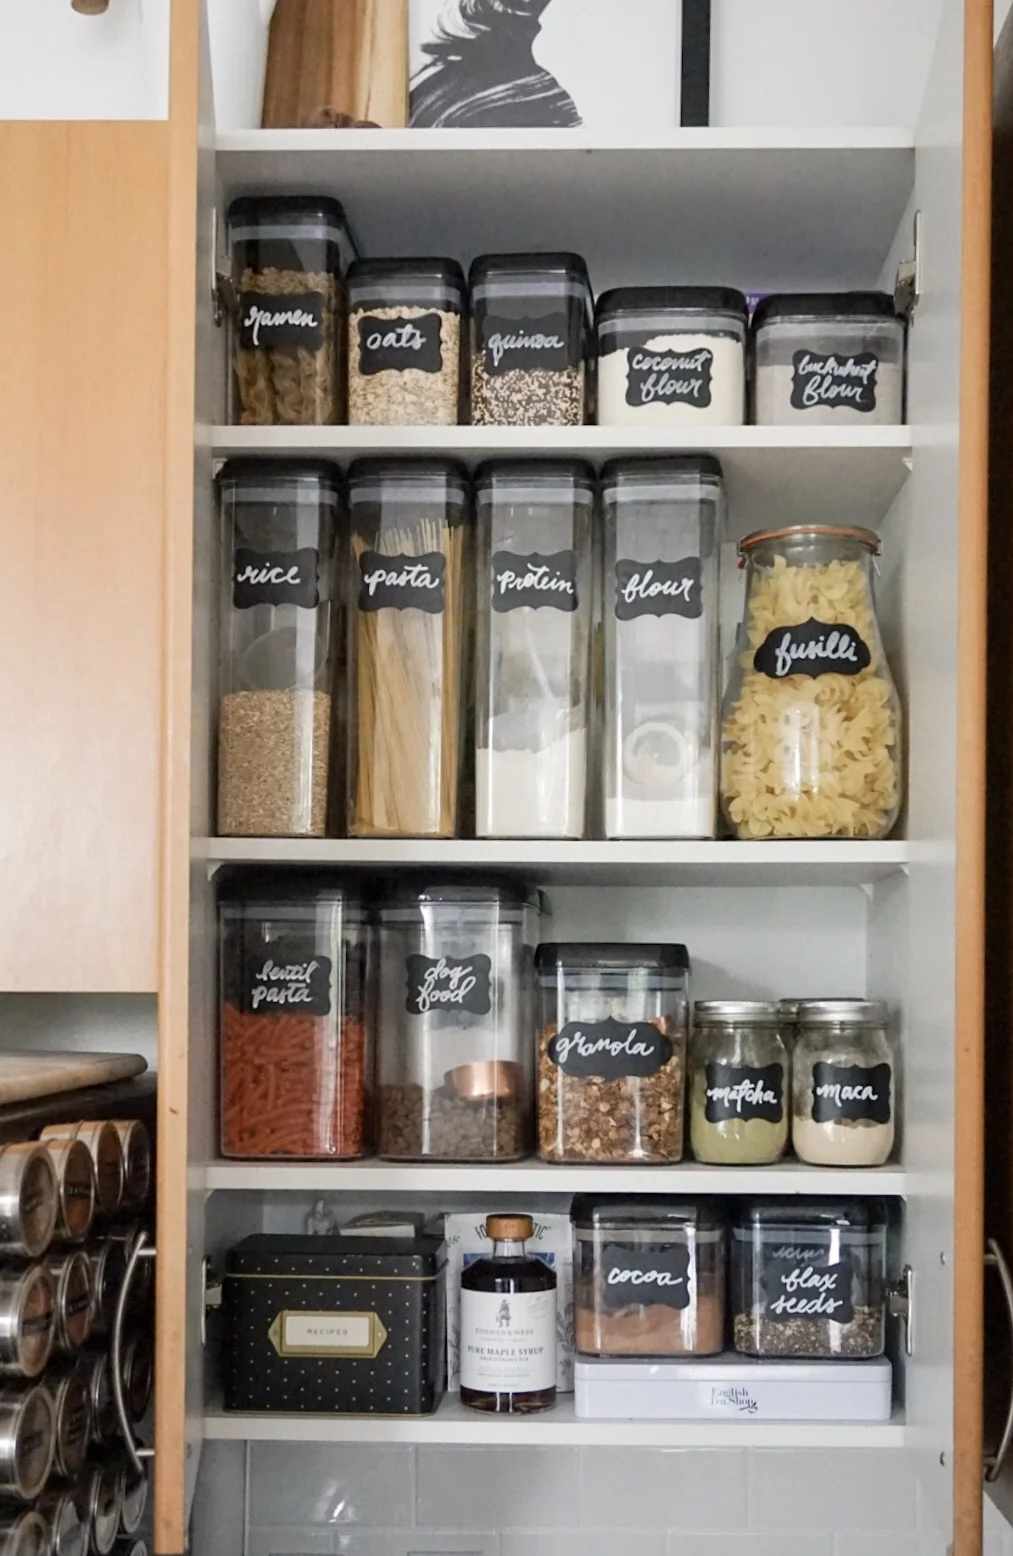
Open shelving


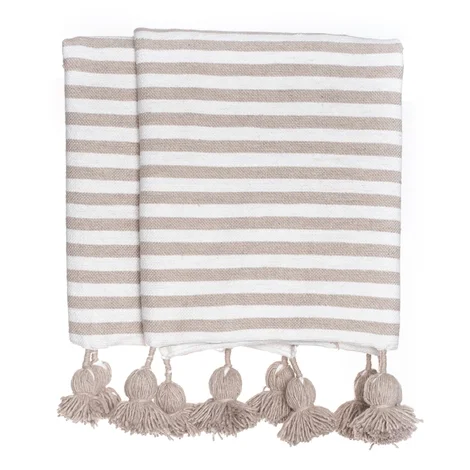
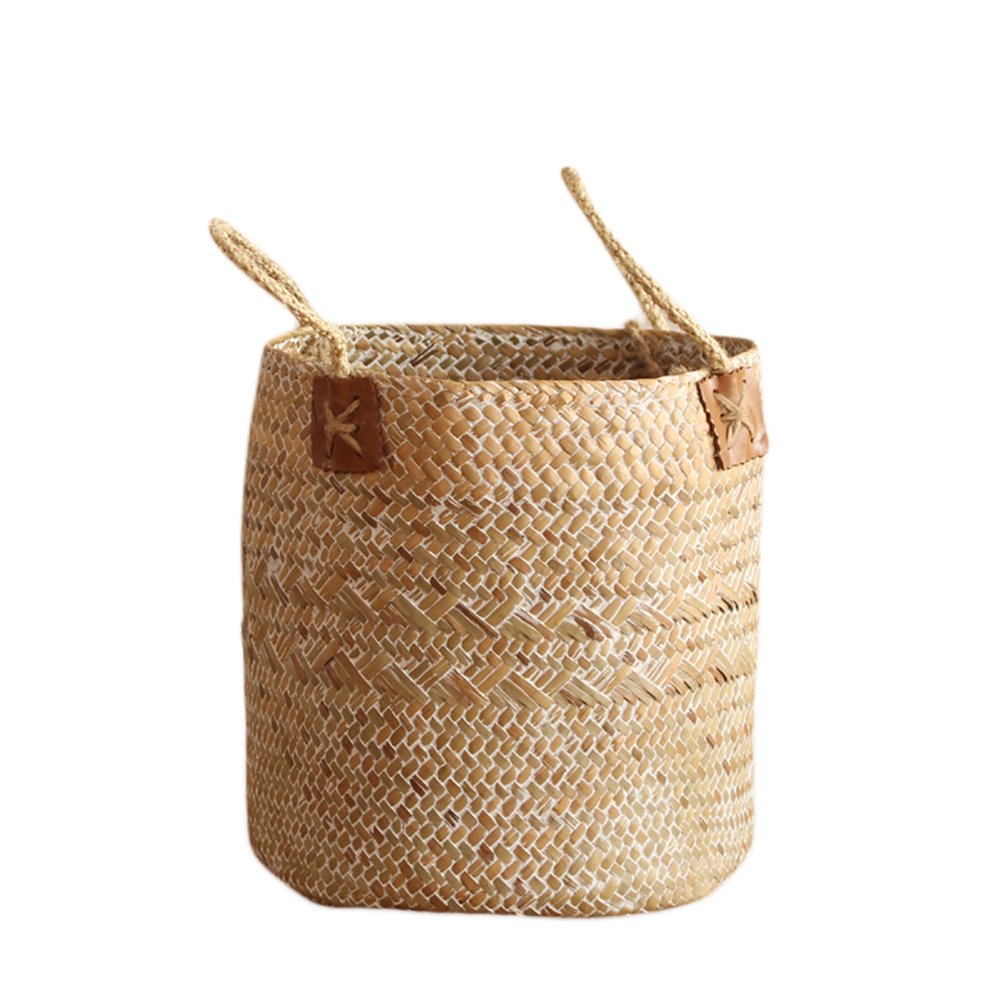
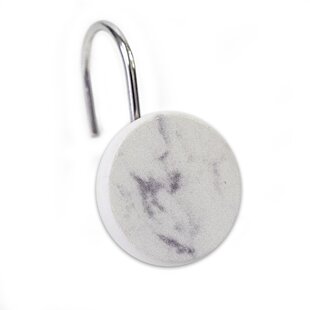
Shop the look


I’ll be making updates to my kitchen in the coming weeks, so stay tuned for my full kitchen transformation! I’ll be sure to link all my sources, so you can make the same budget-friendly updates to your space, too!
xo
Linnea